Fixing an Evo X Boost Leak Without Guessing
You roll into boost, the car feels soft, and the wideband starts doing weird things. Maybe it still hits target boost – just late. Maybe it spikes, then drops. Either way, an Evo X with a boost leak feels like it’s fighting itself.
The good news is you don’t have to shotgun parts to solve it. Boost leaks are one of the most fixable problems on the 4B11T if you approach it like a system: confirm the leak, pressure test the charge path, pinpoint the failure, and repair it in a way that survives heat cycles and real boost.
What a boost leak looks like on an Evo X
A boost leak is simply compressed air escaping somewhere between the turbo outlet and the intake valves. On the Evo X, that usually means a problem in the intercooler piping, couplers, clamps, bypass valve flange, intercooler end tanks, throttle body coupler, or intake manifold seals.
Symptoms vary depending on where the leak is and how large it is. A pre-MAF leak (intake tract before the MAF) tends to mess with fueling more dramatically because metered air never makes it to the engine. A post-MAF leak in the charge piping can still throw off fueling under load because the ECU is calculating airflow and boost behavior that the engine never actually gets.
You’ll commonly see slower spool, lower peak boost, a “whoosh” that sounds louder than normal, rich dips under boost, or fuel trims that don’t make sense. Some cars will show fluttering boost on the gauge because the turbo is working overtime trying to maintain target pressure.
Before you start: confirm it’s actually a leak
If you’re chasing “low boost,” don’t skip the sanity check. A boost control issue, wastegate problem, or a cracked exhaust manifold can mimic the same feel.
Start with quick observations. If your boost is consistently low and stable, think wastegate or boost control routing. If boost spikes then falls, or if it’s inconsistent pull-to-pull, a leak becomes more likely. If the car idles rough or stalls after an intake install, also consider a pre-turbo or pre-MAF problem.
That said, the fastest way to get certainty is a pressure test. It’s the difference between diagnosing and guessing.
How to fix Evo X boost leak problems the right way: pressure test first
A proper pressure test turns the whole job into a controlled procedure. You pressurize the intake system with the engine off and listen for air escaping. On the Evo X, the cleanest method is to pressurize from the turbo inlet or compressor outlet depending on your setup, then isolate sections if needed.
Use a boost leak tester that clamps to your intake or turbo inlet and has an air fitting. Regulate shop air down to a safe level. Most street Evo X setups can be tested around 10-20 psi. If you run higher boost, you can test higher, but don’t jump straight to 30 psi unless you know your couplers and clamps are up for it. Testing too high can pop hoses off and create problems you didn’t have.
Pressurize slowly and let the system stabilize. Air will leak past piston rings and through the crankcase ventilation path to some extent, so you’re not looking for “holds forever.” You’re listening for obvious escapes and watching how quickly pressure drops.
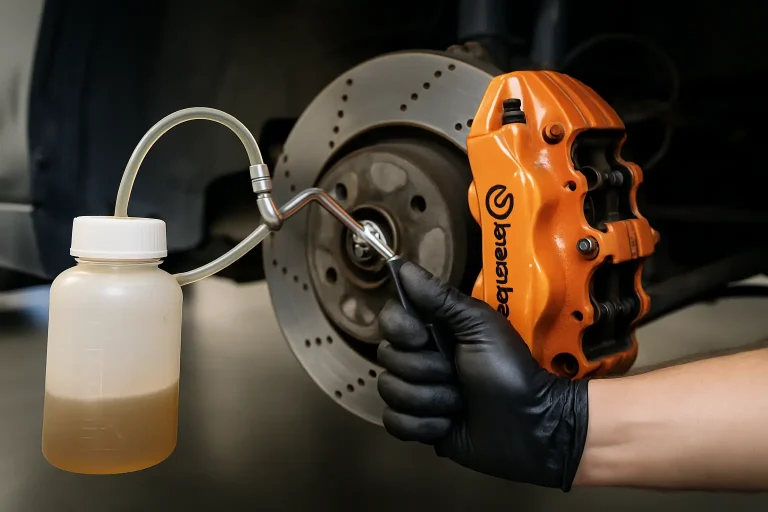
Pro tip that saves time: use a spray bottle with soapy water and mist every joint, coupler, flange, and weld. Bubbles don’t lie.
Common pressure-test mistakes that waste hours
A lot of “I can’t find the leak” stories come down to test setup.
One, the PCV and crankcase venting can act like a built-in leak. Depending on how you test, you may need to pinch off or temporarily cap certain lines so you’re not pressurizing the crankcase.
Two, people chase the loudest hiss and ignore the small leak that actually matters at boost. If you have multiple leaks, fix them from largest to smallest, then retest.
Three, don’t forget the bypass valve. If your bypass valve is stuck slightly open or the flange is leaking, it’ll look like a mystery leak until you soap the area.
Where Evo X boost leaks usually happen
The Evo X is not fragile, but it is picky about sealing. Heat, oil mist, and vibration do their thing over time, especially on cars with upgraded intercoolers, different piping kits, or higher-than-stock boost.
Intercooler couplers and clamps
This is the most common failure point because it’s the most disturbed area. A coupler that looks fine can still leak if it’s oil-soaked inside, slightly misaligned, or clamped on the edge of a bead.
Pull the coupler, clean both mating surfaces with a degreaser that leaves no residue, and inspect for small splits. If the coupler is ballooned, soft, or torn, replace it. When you reinstall, make sure the coupler is fully seated past the bead and the clamp sits behind the bead, not on it.
Clamp choice and technique matter. A cheap worm clamp can work on mild setups, but it’s easier to overtighten and cut into silicone. T-bolt clamps distribute load better and tend to stay consistent through heat cycles. Tighten evenly, then recheck after a few drives because silicone can settle.
Bypass valve (BPV) flange and gasket surface
A leaking BPV flange can mimic a tuning issue because it’s basically a controlled leak that’s no longer controlled. Soap the perimeter under pressure. If it bubbles, remove it and inspect the flange face for warping, damaged O-ring, or gasket issues depending on your valve style.
Also verify the vacuum line to the BPV is secure and not cracked. A vacuum reference problem can hold the valve slightly open.
Throttle body coupler
This coupler sees movement and heat. If you’ve ever removed it for a throttle body or manifold job, it’s a prime suspect. Look for oil contamination and clamp alignment. A small leak here is especially noticeable because it’s right before the engine.
Intercooler end tanks and welds
Aftermarket intercoolers are built for performance, but any intercooler can develop a pinhole at a weld, especially if it’s seen curb hits, fatigue from poor mounting, or repeated heat cycles. Soapy water along the weld seams will show tiny bubbles.
If you find a crack, the real fix is repairing or replacing the intercooler. Epoxy patches might hold for a bit, but they’re not race-ready, and they usually fail the moment you start leaning on the car.
Intake manifold gaskets and injector seals
Not every “boost leak” is in the piping. Leaks at the manifold gasket, throttle body gasket, or injector seals can show up during pressure testing too. If the bubbles appear around the injector bases or manifold flange, don’t ignore it. You’re leaking pressure and potentially creating uneven cylinder fueling under load.
Vacuum and boost reference lines
Small vacuum lines won’t always make a loud hiss, but they can cause big drivability issues. Check the boost reference to the wastegate solenoid, the line to the wastegate actuator, and any lines for a boost gauge or controller. A loose zip tie or a line that’s hardened from heat can leak only when pressurized.
Fixes that actually stay fixed
Once you’ve found the leak, the repair should match the stress level of the car.
If it’s a coupler, the durable solution is clean mating surfaces, a quality silicone coupler, and clamps that won’t walk. If it’s a flange or gasket, replace the gasket or O-ring and confirm the mating surfaces are flat. If it’s a line, replace the hose instead of trimming it shorter and hoping it seals.
If you’re running elevated boost, pay extra attention to pipe bead rolls. A smooth pipe with no bead is more likely to blow a coupler off under load, which looks like a “massive boost leak” the moment it happens. Beaded ends and the correct clamp position are what keep the system together when you’re full-send in third.
After every fix, pressure test again. Then log or at least observe boost behavior on a controlled pull. The goal isn’t just “no hiss in the garage.” It’s repeatable boost response on the road.
If you’re replacing multiple wear items or upgrading the charge path, sourcing parts from an Evo-only specialist helps keep fitment tight and avoids the universal-hose roulette. That’s the whole point of a catalog built around the platform, like what we stock at Evo Motor Parts.
When it depends: stock turbo vs big turbo setups
A stock turbo Evo X at modest boost will sometimes mask small leaks because the turbo can compensate. You still pay for it in heat and response, but the car might “feel okay.” On a bigger turbo setup, small leaks become obvious fast because the whole tune is built around stable airflow and predictable pressure.
If you’re tuned on speed density, you might not see the same MAF-related trim weirdness, but you can still get poor spool, boost control oscillation, and inconsistent power. No matter the tuning strategy, airtight plumbing is the foundation.
The last 10 percent: preventing the next boost leak
Most repeat leaks are installation-related. Pipes that are slightly misclocked, couplers that are twisted, or clamps that are tightened unevenly will come back to haunt you.
Take an extra five minutes to align the piping so it sits naturally with minimal preload. Make sure intercooler mounts aren’t forcing the core into a stressed position. Keep oil out of couplers by making sure your PCV and catch can setup is doing its job. Oil film is basically lubricant for couplers, and that’s how “it was tight yesterday” turns into “it popped off on the highway.”
If you treat boost leaks like a systems check instead of a parts problem, the Evo X becomes what it’s supposed to be: sharp response, stable boost, and power you can lean on without holding your breath every pull. The best feeling isn’t the peak number on the gauge – it’s knowing the setup is sealed, repeatable, and ready whenever the road opens up.