Evo X Rear Toe Arms: Alignment, Tire Wear & Setup Guide
Set rear toe for stability, grip and even tire wear
Evo X rear toe arms give an alignment technician a wider, more precise adjustment range. The benefit comes from correct fitment, measured alignment and secure hardware—not from copying someone else’s settings.
What rear toe changes on an Evo X
Viewed from above, toe describes whether the front edges of a pair of wheels point slightly toward or away from each other. Small changes alter how quickly the car responds, how settled it feels at speed and how the tire tread loads as it rolls. Rear toe is especially important because an unstable rear axle can make the car feel nervous during braking, lane changes or corner entry.
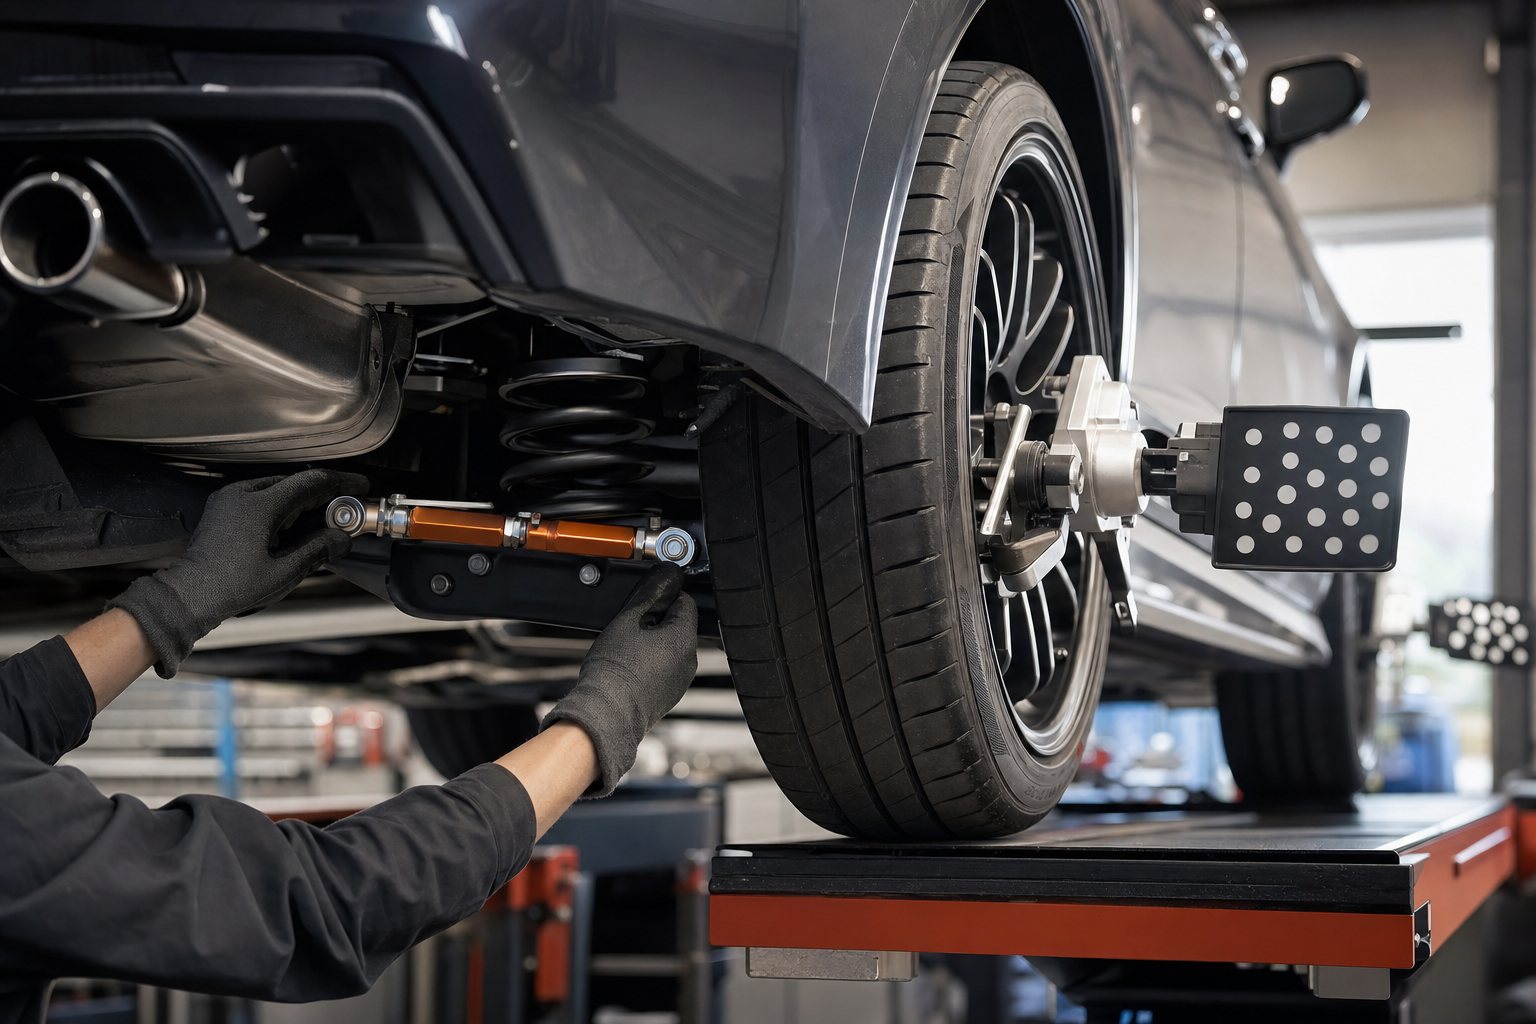
Adjustable arms do not create a “fast” alignment on their own. They give the technician enough range and precision to place the rear wheels where the alignment plan requires. That becomes useful after lowering, camber changes, bushing wear or repair work has moved the factory eccentric adjustment near its limit.
| Observation | Possible alignment clue | What to do |
|---|---|---|
| Feathered tread blocks | Toe may be outside the intended range | Measure all four wheels before replacing parts |
| Car wanders or feels nervous | Rear toe may differ side to side | Check alignment, tire pressure and worn joints |
| Alignment cannot reach target | Factory eccentric range may be exhausted | Inspect for damage, then consider adjustable arms |
When adjustable Evo X rear toe arms make sense
Camber and toe must be planned together. Correcting one without measuring the other can undo the intended result. If your build also uses adjustable lower links, read our Evo X camber-link setup guide. For ride-height and damping context, see the Evo X coilover setup guide.
Fitment checks before ordering
- The linked SPL RTA EVOX product is listed for the 2008–2015 Mitsubishi Evolution X and is sold as a pair.
- Confirm your exact model year, market and rear subframe have not been modified or repaired in a way that changes mounting points.
- Inspect the factory eccentric bolts, inner mounts, wheel-side joints and surrounding arms for corrosion, damage or seizure.
- Decide whether a toe eccentric lockout kit is part of the plan; do not assume every arm uses the factory eccentric in the same way.
- Ask the alignment shop whether it is comfortable setting adjustable spherical-bearing links and tightening jam nuts at ride height.
SPL Rear Toe Arms for Evo X
The SPL RTA EVOX arms provide an increased rear-toe adjustment range for lowered cars and performance alignments. Review the live product details and confirm your application before ordering.
View SPL rear toe armsSPL Toe Eccentric Lockout Kit
A matching lockout kit may be used when the chosen adjustment strategy relocates toe adjustment to the arm. Confirm the required installation method for your exact setup.
Check the toe lockout kitSafe installation planning
1. Record the starting condition
Measure ride height, photograph the original arm orientation and note the latest alignment numbers. Uneven ride height or a damaged mounting point should be corrected before new links are used to mask the symptom.
2. Support the vehicle correctly
Work on a level surface with a lift or correctly positioned jack stands rated for the vehicle. Never work under a car supported only by a hydraulic jack. Remove the rear wheels only after the car is stable, and keep hands clear when suspension load is being changed.
3. Match the initial arm length
Use the original arm as a starting-length reference so the wheels are reasonably close to their previous position. This is only a transport baseline, not a substitute for alignment. Ensure each bearing, spacer and fastener is oriented exactly as the manufacturer specifies.
4. Tighten without binding
Final fastener torque and jam-nut direction must follow the current product instructions. Verify adequate thread engagement and free suspension articulation. A link should not contact the subframe, wheel, brake line or another arm through the expected travel.
What to request at the alignment shop
- A full four-wheel measurement, not only a quick front toe adjustment.
- Ride height, tire pressure and driver-load assumptions recorded before adjustment.
- Rear camber and toe set as a coordinated pair for the car’s actual use.
- Left-to-right values checked for symmetry unless the build intentionally requires otherwise.
- All adjusters and jam nuts paint-marked after final tightening, with a printed before-and-after report.
There is no single universal toe number for every Evo X. Tire construction, ride height, track use, road crown and suspension condition all matter. Start from factory information or a trusted alignment professional’s conservative recommendation, then change only one variable at a time and record tire temperatures and wear.
Inspection after installation
Recheck hardware after the manufacturer’s recommended bedding interval and after hard track use. Look for shifted paint marks, loosened jam nuts, damaged boots or liners, corrosion and contact marks. Spherical joints are precision parts; keep them clean and replace them if play develops. Re-align after any ride-height, camber-link or major suspension change.
Alignment numbers make the upgrade work
Evo X rear toe arms are valuable when the factory adjustment range or compliance no longer suits the build. Confirm 2008–2015 fitment, install safely, and finish with a measured four-wheel alignment. That is how adjustable hardware becomes predictable handling instead of another variable.
Review current product details