Evo X Upper vs Lower Intercooler Piping: Fitment & Boost-Leak Guide
Know which pipe you need before chasing a boost leak
Evo X intercooler piping connects the turbo, intercooler and throttle body. Upper and lower sections do different jobs, and a careful inspection is more useful than replacing parts at random.
Upper vs lower Evo X intercooler piping
The charge-air path is a system rather than one part. Compressed air leaves the turbocharger, travels through the lower-side piping to the intercooler, then returns through the upper pipe toward the throttle body. Every coupler, clamp, flange and sensor connection along that route must seal when boost pressure rises.
A sound upgrade decision starts with evidence. If the car has inconsistent boost, hissing under load, reduced response or oily residue around a joint, first inspect the complete route. Our detailed guide to finding and fixing an Evo X boost leak explains the broader diagnostic process.
What a piping upgrade can—and cannot—solve
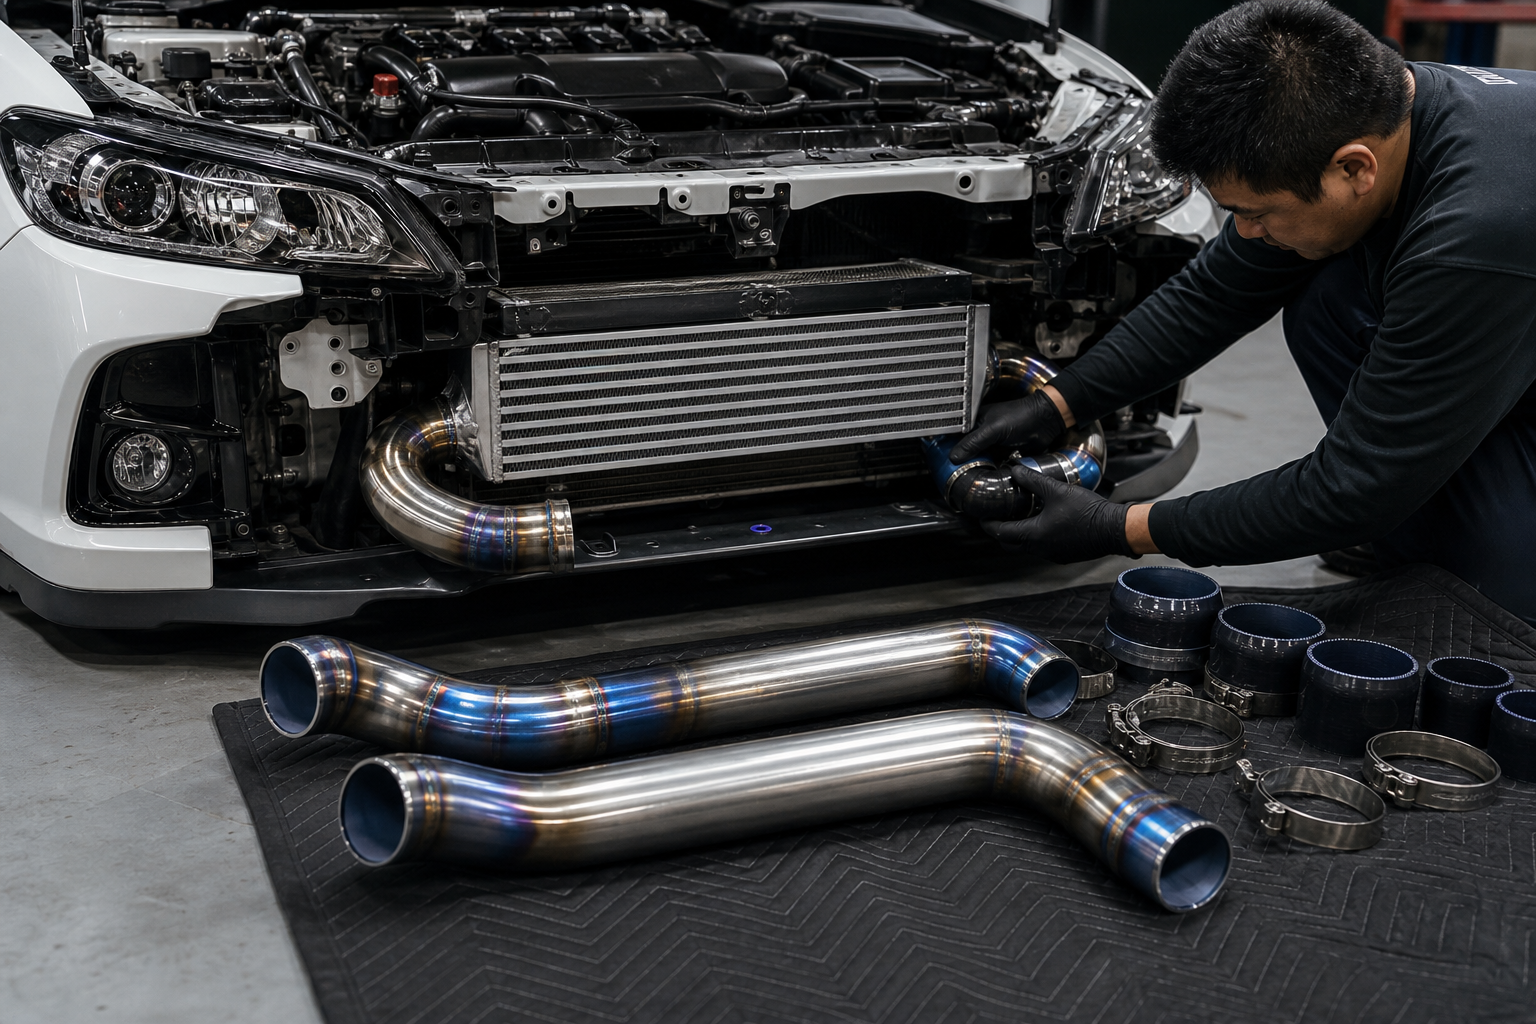
A well-fitting hard-pipe kit can replace aging factory sections, improve joint security and simplify a planned charge-air setup. Titanium also gives a distinctive finish and strong corrosion resistance. However, material alone does not guarantee power. Actual results depend on the turbo, intercooler, calibration, boost target, couplers and the quality of installation.
New piping will not correct a cracked intercooler end tank, leaking throttle-body seal, faulty bypass valve, damaged turbo outlet or incorrect tune. It can also introduce a leak if a clamp is misaligned or a pipe is forced into contact with the body. Treat fitment and sealing as the primary goals.
Fitment checklist for an ETS titanium kit
- Verify the live listing covers your exact Evo X year and market; the linked ETS products are listed for 2008–2016 applications.
- Confirm whether the car retains the stock turbo, stock-location turbo outlet and factory-style intercooler connections.
- Check the upper-pipe provisions for your throttle body, bypass/blow-off valve and any relevant vacuum or sensor connections.
- Compare pipe diameter and coupler size with the intercooler outlets already on the car.
- Account for an aftermarket intake, radiator, catch can, battery location or front crash-bar modification that may change clearance.
- Ask before ordering when the car has a rotated turbo, custom intercooler, nonstandard throttle body or fabricated front-end setup.
ETS Evo X Titanium Upper Piping Kit
Use this for the intercooler-outlet-to-throttle-body side when the rest of your configuration matches the listed application.
View upper piping kitETS Evo X Titanium Lower Piping Kit
Use this for the turbo-side route to the intercooler inlet after checking turbo outlet and intercooler compatibility.
View lower piping kitDiagnose before removing anything
Visual and hands-on inspection
Start with the engine cold. Follow the charge path one joint at a time. Look for oil staining, polished rub marks, split couplers, crooked clamps and pipe ends that are not fully inserted. Gently check each joint for movement. A clamp can appear tight while sitting behind the bead instead of securing the coupler over it.
Listen to the symptom pattern
A loud whoosh immediately after a gear change may indicate a coupler has separated. A smaller hiss that appears only near peak boost can be a pinhole, a loose clamp or another system leak. Poor response by itself is not proof of a pipe problem; ignition, fuel delivery, wastegate control and calibration can produce similar symptoms.
Pressure or smoke testing
A controlled leak test can reveal a fault that is invisible at rest. Use equipment intended for automotive intake testing, regulate pressure conservatively and follow the vehicle and tester instructions. Do not apply unregulated shop air, stand in front of capped plumbing or exceed an appropriate test pressure. A professional workshop is the right choice when you are unsure.
Installation sequence that protects fitment
- Photograph the original routing, clamp orientation and nearby clearances before disassembly.
- Remove the undertray or bumper components only as required, keeping hardware organized by location.
- Loosen the complete section before pulling a single joint sideways; forcing one end can damage another connector.
- Test-fit the new pipe with clamps loose. Confirm bead engagement, coupler overlap and clearance through engine movement.
- Align every joint before final tightening. Do not use clamp force to pull a misaligned pipe into place.
- Reinstall heat shields, undertrays and supports. Verify no pipe or clamp can contact a fan, belt, body edge or hot exhaust part.
After-installation checks
Before starting, account for every tool and fastener. Idle the engine and inspect for obvious movement or contact. Then perform a conservative leak check. On the first drive, use low load and watch for warning lights, abnormal noises or unstable response before building boost. Recheck coupler position and clamp security after a complete heat cycle.
If an intercooler upgrade is part of the same project, plan the connections as one package rather than assuming every pipe matches every core. Our Evo X intercooler selection guide covers the fitment questions that matter when choosing the core.
Common buying mistakes
- Ordering upper piping when the damaged or leaking joint is on the lower side.
- Assuming “Evo X” guarantees compatibility with a custom turbo or intercooler.
- Reusing hardened couplers or distorted clamps to save a small amount.
- Tightening clamps before the full route is aligned and supported.
- Expecting a shiny pipe to correct an unrelated boost-control or tuning problem.
Build a sealed system, not a collection of parts
The right Evo X intercooler piping is the section that matches your hardware, clears surrounding components and seals reliably. Identify whether the upper or lower route needs attention, confirm every connection, and install without forcing the assembly.
Compare the ETS upper pipe Compare the ETS lower pipe