2014–2015 Mitsubishi Mirage Fog Lights: Installation & Aiming Guide
Install and aim Mirage fog lights without creating glare
The right lower-bumper lamps can improve close-range illumination in poor conditions, but fitment, wiring checks and beam aim matter more than brightness claims.
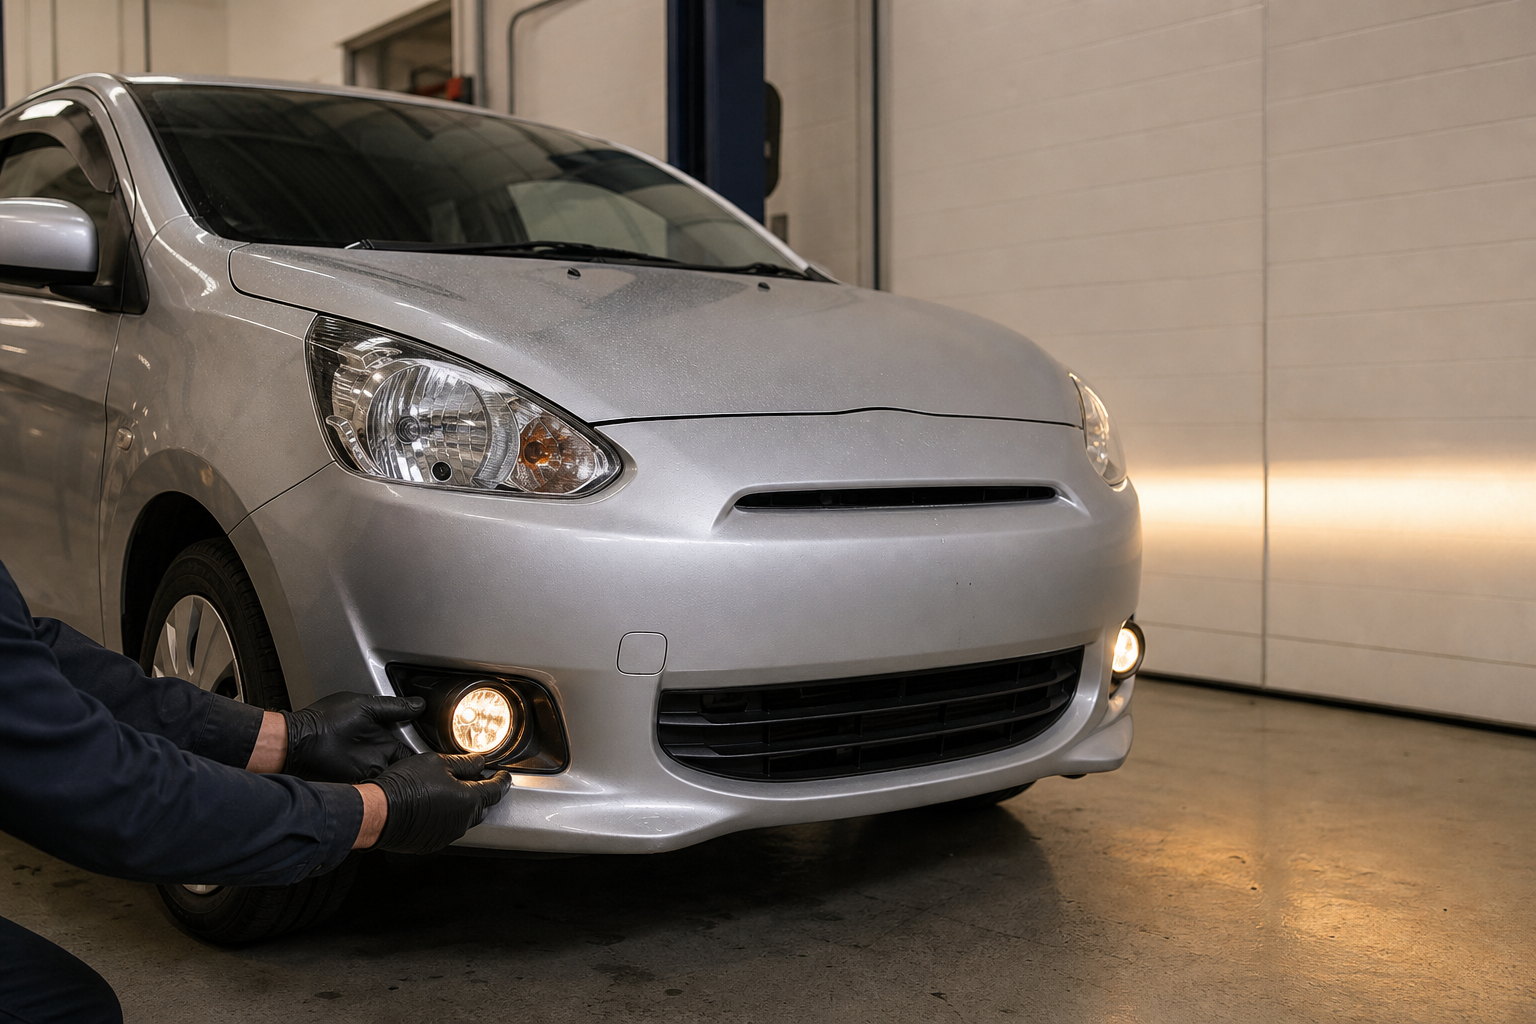
Mitsubishi Mirage fog lights sit low in the bumper so their beam can spread across the road immediately ahead of the car. On a 2014 or 2015 Mirage, replacing missing covers or worn lamps with a vehicle-specific kit can produce a cleaner result than adapting universal units. Installation still deserves careful preparation: the bumper openings, fasteners, connectors and switch arrangement must all agree with the car.
Confirm the application before ordering
The featured clear-lens kit is listed for all 2014–2015 Mitsubishi Mirage models. The listing identifies a pair of vehicle-specific left and right assemblies, polycarbonate lenses, chrome housings and LED light sources. It also references OEM-equivalent numbers MZ314774 and MZ314-ACC-MMIR14FL. Use those details as cross-checks, not as permission to skip a visual inspection.
- Confirm the vehicle is a 2014 or 2015 Mitsubishi Mirage.
- Inspect both bumper openings and note whether bezels, blanking panels or damaged mounts are present.
- Check the original wiring, fuse and switch provision for corrosion or previous modifications.
- Verify that the package contains both sides and the parts needed for your trim level.
- Ask how the switch and electrical connection integrate with the specific vehicle if anything is unclear.
Featured clear-lens fog-light kit
The 2014–2015 Mitsubishi Mirage clear-lens bumper fog-light kit is listed as a new left-and-right pair with clear polycarbonate lenses, chrome housings and waterproof construction. The product page describes a direct bolt-on replacement, states DOT and SAE approval, and recommends professional installation because no installation guide is supplied.
Before fitting, confirm that the approval markings and wiring arrangement on the delivered parts meet the requirements where the vehicle is registered.
Tools and preparation
Work on a cool, parked vehicle with the parking brake applied. Use axle stands if the manufacturer procedure requires the front to be raised; never rely on a jack alone. A trim tool, correct sockets, screwdriver set, torque guidance and masking tape are often useful. Electrical work may also require a multimeter and wiring information for the exact trim.
Disconnect the battery only when the service procedure calls for it, and preserve any radio or vehicle settings that may be affected. Photograph the original routing before removing clips or splash shields.
Installation sequence
| Stage | Action | Check |
|---|---|---|
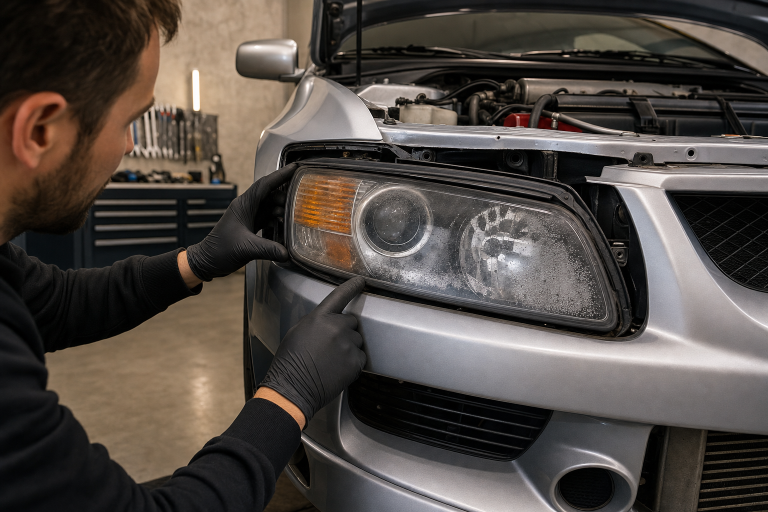
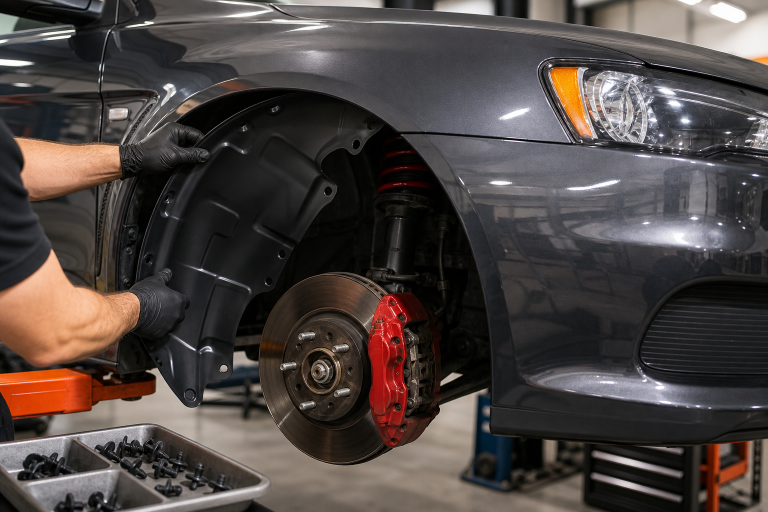
| 1. Access | Remove the required lower trim, liner or bezel without forcing clips. | No cracked tabs or loose fasteners. |
| 2. Compare | Place each new lamp beside its intended opening. | Left/right orientation, mounts and connectors match. |
| 3. Mount | Seat the assembly squarely and tighten hardware evenly. | Lens is centered and housing does not move. |
| 4. Connect | Route wiring away from exhaust heat, sharp edges and moving parts. | Connectors lock and loom is supported. |
| 5. Test | Verify both lamps and the dashboard switch before reinstalling trim. | No flicker, warning light or hot connector. |
| 6. Aim | Set the car on level ground facing a wall and adjust symmetrically. | Low, controlled beams with no upward glare. |
How to aim fog lights
Correct fog-light aim is deliberately low. Park on level ground with normal tire pressures and typical vehicle load. Measure the lamp-center height, mark a horizontal reference on a flat wall and follow the lamp or vehicle maker’s aiming specification. Both cutoff areas should sit at matching heights and the bright zones should remain below the eyes of oncoming drivers.
Do not aim by trying to create the longest possible beam. Fog lamps are intended to light the near foreground and road edges. Excessive upward aim reflects light back in rain or fog and creates glare for other traffic.
Test in real conditions
After installation, verify operation with the engine running and the normal lighting modes selected. Check both lamps from the front, then drive slowly in a safe dark area. Look for an even spread, consistent color and no vibration. Recheck after rain for moisture inside the lens or loose bumper trim.
Common problems after installation
One lamp does not illuminate
Swap diagnosis, not random parts. Check the connector lock, ground, fuse and power supply. Compare voltage at both sides before replacing a lamp.
The beam shakes
A loose housing, missing bracket or damaged bumper tab can allow movement. Secure the mounting structure instead of packing the gap with improvised material.
Condensation appears
Confirm the rear seal and vents are unobstructed. Persistent droplets or water accumulation require correction before corrosion damages the connector or reflector.
The switch behaves incorrectly
Stop using the system until the wiring logic is verified. Fog-lamp operation may be regulated relative to parking lamps, low beams or high beams.
Frequently asked questions
Will this kit fit a 2013 or 2016 Mirage?
The featured listing specifies 2014–2015. Do not extend that range without part-number and body-fitment confirmation.
Does the kit include both sides?
Yes. The listing identifies driver- and passenger-side assemblies.
Can brighter bulbs replace correct aiming?
No. Brightness cannot correct poor beam control, incorrect mounting or unsuitable wiring.
Fit the pair, protect the wiring and aim it low
Verify the exact Mirage, inspect every mounting point and complete a wall-aim check before returning the vehicle to normal use.