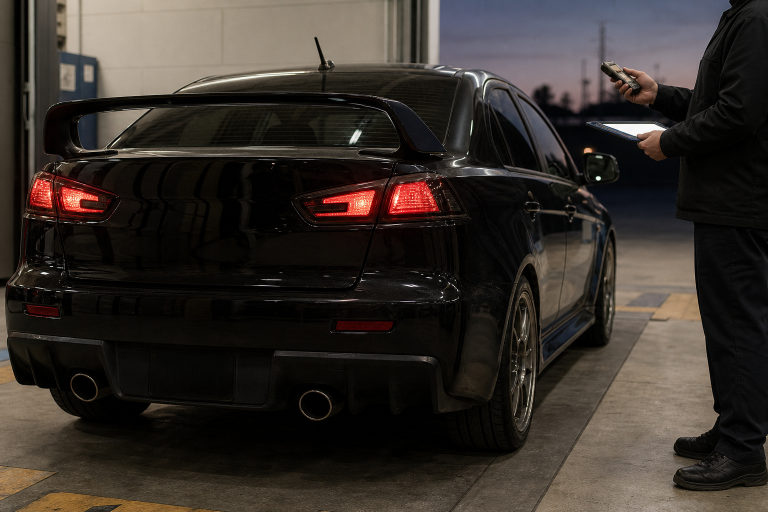
Evo 7/8/9 Rear Quarter Panel Rust Repair: Repair or Replace?
Repair the rust you can see—and the corrosion you cannot
Evo rear quarter panel rust repair succeeds when the shop exposes the full damage, protects the structure and preserves the original panel shape. The visible blister is often only the starting point.
Where Evo 7/8/9 quarter panels begin to rust
Inspect the wheel-arch lip, the lower edge behind the rear wheel, bumper mounting areas, trunk-side seams and any point where seam sealer has cracked. Moisture and road debris can sit between overlapping panels, so a small paint bubble may hide rust on the inner flange.
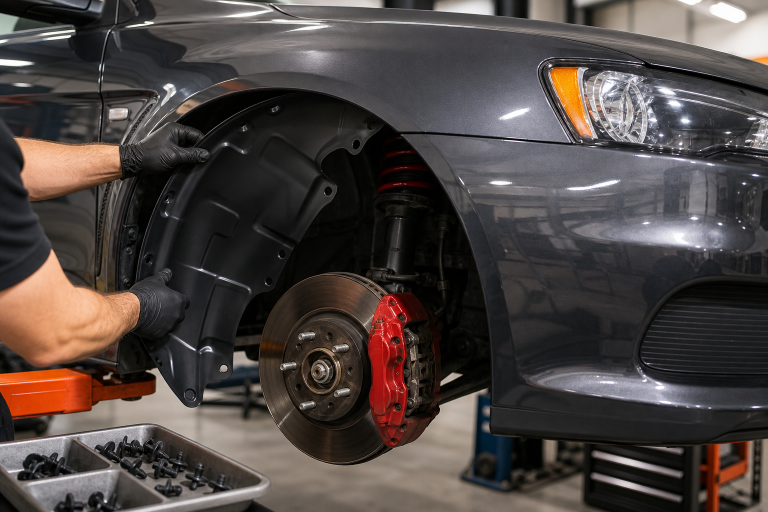
- Remove the wheel-arch liner and inspect both sides of the lip.
- Look for swelling around spot welds, seams and previous filler repairs.
- Check the trunk and inner wheelhouse for staining, loose sealer or pinholes.
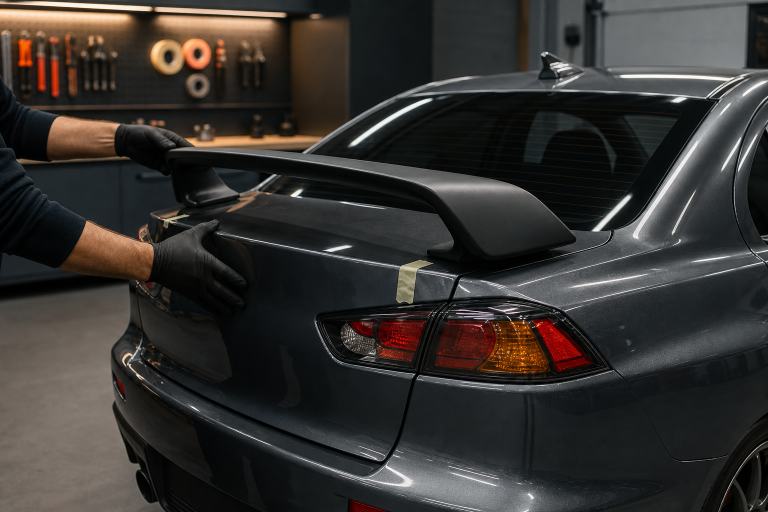
- Measure panel shape and door, trunk and bumper gaps before cutting.
- Photograph factory seams and brackets so they can be recreated accurately.
Repair or replace the quarter panel?
Choose a local repair when
The corrosion is limited, solid metal remains around the affected area and the inner wheelhouse is structurally sound. The correct repair removes all thin or pitted metal, creates a shaped steel patch, controls heat during welding and finishes both sides against corrosion.
Consider full or sectional replacement when
Rust extends through several seams, previous repairs have distorted the panel, the wheel-arch flange is extensively perforated, or access prevents durable protection of the back side. A replacement panel gives the technician clean reference points but requires more disassembly, measurement and skilled welding.
What a professional assessment should include
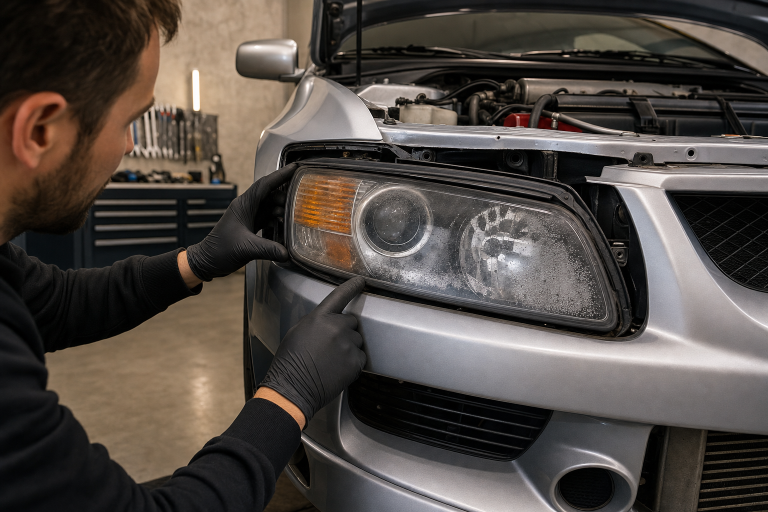
A body shop should remove the bumper, lamps, liner and nearby trim needed to see the real boundary of the damage. It should also check adjacent inner structure and confirm the car is dimensionally straight. If a previous collision has shifted the opening, fitting a new outer skin alone will not restore correct geometry.
Ask whether the quote includes panel removal, inner-metal repair, welding, seam sealing, epoxy primer, cavity wax, paint blending and reassembly. A low estimate that omits corrosion protection can become an expensive repeat repair.
Confirm the exact replacement panel
For the right side of Evo 7/8/9 models, review the rear quarter panel listed under part numbers MN161046 / MR592956. Before ordering, confirm chassis code, model year, left-versus-right side, market specification, included sections and current availability. The installer should compare the new panel with factory reference points before making the first cut.
Check Evo 7/8/9 right quarter panelFitment steps that protect the Evo’s shape
Brace or support the shell as the repair manual requires. Test-fit the replacement with the rear door, trunk, tail lamp and bumper references in place. Clamp the panel and verify the wheel-arch profile from several angles. Only then should the technician mark cut lines and reproduce suitable factory-style joining points.
Heat control matters: long continuous welds can warp the large quarter-panel surface. Skilled shops use controlled sequences, allow cooling time and plan finishing work so the metal retains its contour with minimal filler.
Corrosion protection after welding
Durability comes from protecting every surface, not merely painting the outside. Clean and treat the repair, apply compatible epoxy primer, restore seam sealer, protect the wheel-side surface from stone impact and inject cavity wax into inaccessible overlaps after paint. Keep factory drain paths open.
During future washes, flush the wheel arch and inspect liner fasteners and seam sealer. For a broader factory-parts checklist, see our Evo 8 OEM restoration parts guide.
Delivery checklist
- Door, trunk, lamp and bumper gaps are even.
- The wheel-arch contour matches the opposite side.
- No sharp edges, exposed welds or unsealed seams remain.
- Paint color and texture blend under daylight as well as shop lighting.
- Inner cavities, drains and liner attachments are restored and documented.
Inspect fully, fit carefully, seal every side
The best Evo quarter-panel repair is nearly invisible outside and thoroughly protected inside. Choose the repair scope only after the hidden corrosion is exposed and the exact replacement fitment is confirmed.