Evo X Oil Pan Leak: Diagnosis, Reseal & Bolt Guide
Find the real source before resealing the oil pan
An Evo X oil pan leak can begin at the pan seam, but oil from the filter housing, front cover, drain plug or a higher engine seal can travel downward. Cleaning and tracing the leak first prevents a repeat repair.
Typical Evo X oil pan leak symptoms
Look for oil collecting along the oil-pan perimeter, drops on the undertray or garage floor, a burning-oil smell after oil reaches hot exhaust components, or an oil level that falls between checks. A wet pan does not prove the pan seal is the source, because airflow spreads oil across the underside.
- Note where the oil first appears after the engine is cleaned.
- Inspect the drain plug and sealing washer separately from the pan seam.
- Check the oil filter, cooler connections and engine surfaces above the pan.
- Look for impact damage, corrosion or a bent pan flange.
- Record oil level before and after a short monitored drive.
How to confirm the leak source
Start with the engine cool. Remove only the covers needed for safe visibility, clean the oily area with a suitable product and let it dry. Run the engine while watching from a safe position, then inspect again after a short drive. Leak-detection dye can help when used according to its instructions.
When the oil pan needs resealing
A reseal becomes likely when fresh oil consistently emerges from the pan-to-engine joint and higher sources remain dry. The shop should also assess pan damage and confirm whether the sealing flange is flat enough to reuse. An impact-bent or deeply corroded pan may need replacement rather than more sealant.
Plan the job before removing hardware
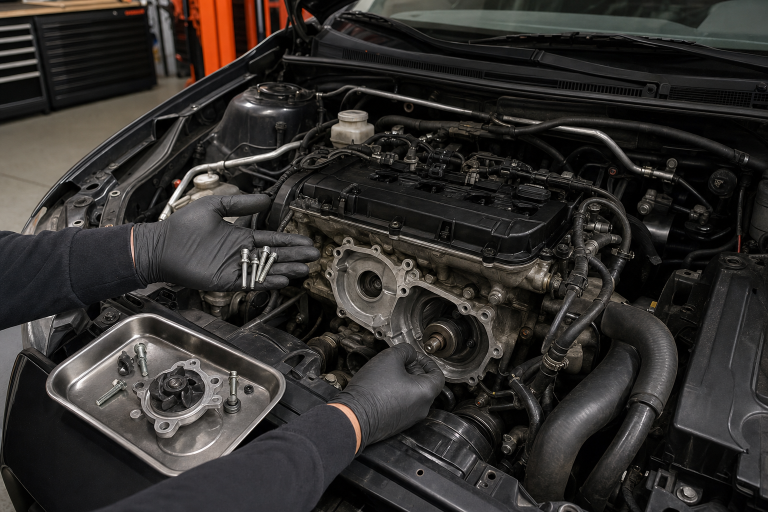
Consult the correct Mitsubishi service information for model year, oil-pan removal access, sealant type, surface preparation, tightening sequence and torque. Allow adequate drain time, protect exposed engine surfaces from debris and do not pry against delicate mating faces.
After removal, both mating surfaces must be free of old sealant, oil and damage without being gouged. Apply only the specified sealant bead and assemble within its working time. Too much sealant can squeeze inward; too little or a delayed assembly can create leak paths.
Replace questionable pan hardware
The Mitsubishi OEM oil pan bolt kit for Evo X is relevant when original bolts are corroded, damaged, mixed or missing. Confirm model year, included quantity, thread condition and exact application before ordering. Hardware does not correct a warped flange or replace the specified sealing procedure.
Check the Evo X oil pan bolt kitWhy torque and sequence matter
Oil-pan fasteners are small and the flange is thin. Uneven or excessive tightening can pull the flange out of shape, strip threads or squeeze out sealant. Install all fasteners by hand first, then use the documented sequence and a suitable calibrated torque tool.
Post-repair verification
- Respect the specified sealant cure time before adding oil or running the engine.
- Refill with the correct oil quantity and verify the dipstick reading on level ground.
- Inspect the drain plug, pan seam and nearby fittings at idle.
- Recheck after the first full heat cycle and again after a monitored drive.
- Confirm the undertray is clean so any new leak is easy to identify.
If oil choice is part of the service, review our Evo X oil-weight guide and follow the requirements for the car’s climate, use and engine build.
Trace, prepare and tighten correctly
A durable oil-pan repair is mostly careful diagnosis and surface preparation. Confirm the source, use compatible parts and sealant, and treat every torque specification as part of the seal.