Evo 7/8/9 ACD/AYC Pump: Failure Symptoms & Replacement Guide
ACD/AYC warning light on? Start here.
The Evo ACD/AYC pump supports the hydraulic control systems that help an Evo 7, 8 or 9 distribute drive and manage handling. Warning lights deserve a structured diagnosis—not automatic parts replacement.
What the ACD/AYC pump does
On equipped models, the hydraulic pump creates pressure for the Active Center Differential and, where fitted, Active Yaw Control system. The control unit uses vehicle inputs to command the hydraulic components. The exact system and plumbing vary by model, market and drivetrain specification, so diagnosis must follow the correct workshop information for the car.
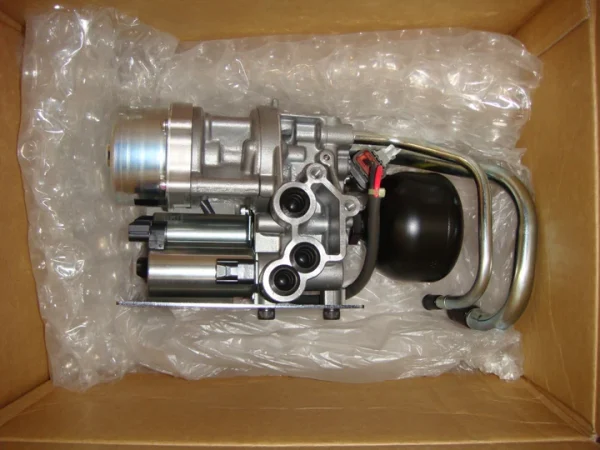
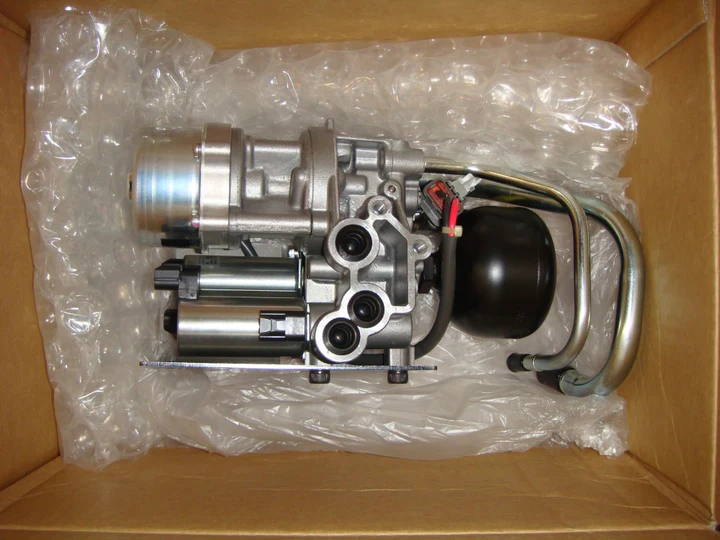
Replacement pump option
This Mitsubishi ACD/AYC pump is listed for Evo 7/8/9 GSR applications. Confirm the exact part number, connectors, mounting and vehicle specification before ordering.
View the ACD/AYC pumpSymptoms that can point to an ACD/AYC problem
- ACD, AYC or related drivetrain warning lights.
- A pump that runs unusually long, cycles frequently or does not run when commanded.
- Stored hydraulic-pressure, pump-circuit or control-system fault codes.
- Visible fluid leaks, corroded connectors or damaged wiring near system components.
- Reduced or disabled active-differential functions after a fault is detected.
These symptoms do not prove the pump itself has failed. Low fluid, an external leak, a pressure-sensor fault, relay or wiring trouble, accumulator problems, internal hydraulic leakage and control issues can create similar behavior.
A sensible diagnostic order
- Scan the correct module. A basic engine-code reader may not show ACD/AYC faults.
- Record codes before clearing. Freeze the evidence before a reset changes the picture.
- Inspect fluid and leaks. Identify the correct fluid and service procedure for the specific car.
- Check power, ground and connectors. Corrosion and voltage drop can imitate a weak pump.
- Perform pressure and activation tests. Use workshop specifications and suitable equipment.
Replacement and bleeding considerations
Before removal, clean the area so dirt cannot enter the hydraulic system. Compare the replacement unit’s part number and ports with the original. Protect open lines, follow the specified torque values and use the prescribed bleeding or activation procedure. Some operations may require a capable scan tool to cycle valves and confirm pressure.
After repair, clear faults only after the cause has been corrected. Then verify pump operation, fluid level, leak-free connections and system behavior during a controlled road test.
How to protect the system
Keep underbody covers and mounting points intact, investigate warning lights early and repair small leaks before low fluid or contamination creates a larger problem. During restoration, inspect harness routing and connector seals instead of focusing only on the pump assembly.
Diagnose first, replace with confidence
A confirmed failed pump calls for the right part and a careful hydraulic service. Match the unit to the vehicle, follow factory procedures and verify the complete system after installation.
Check pump fitment details