Evo 7/8/9 Headlight Condensation: Seal Diagnosis & Repair
Stop Evo headlight condensation at the source
A misted lens is a symptom, not a diagnosis. Separate normal temperature haze from a failed perimeter seal, blocked vent, loose rear cover or cracked housing before replacing parts.
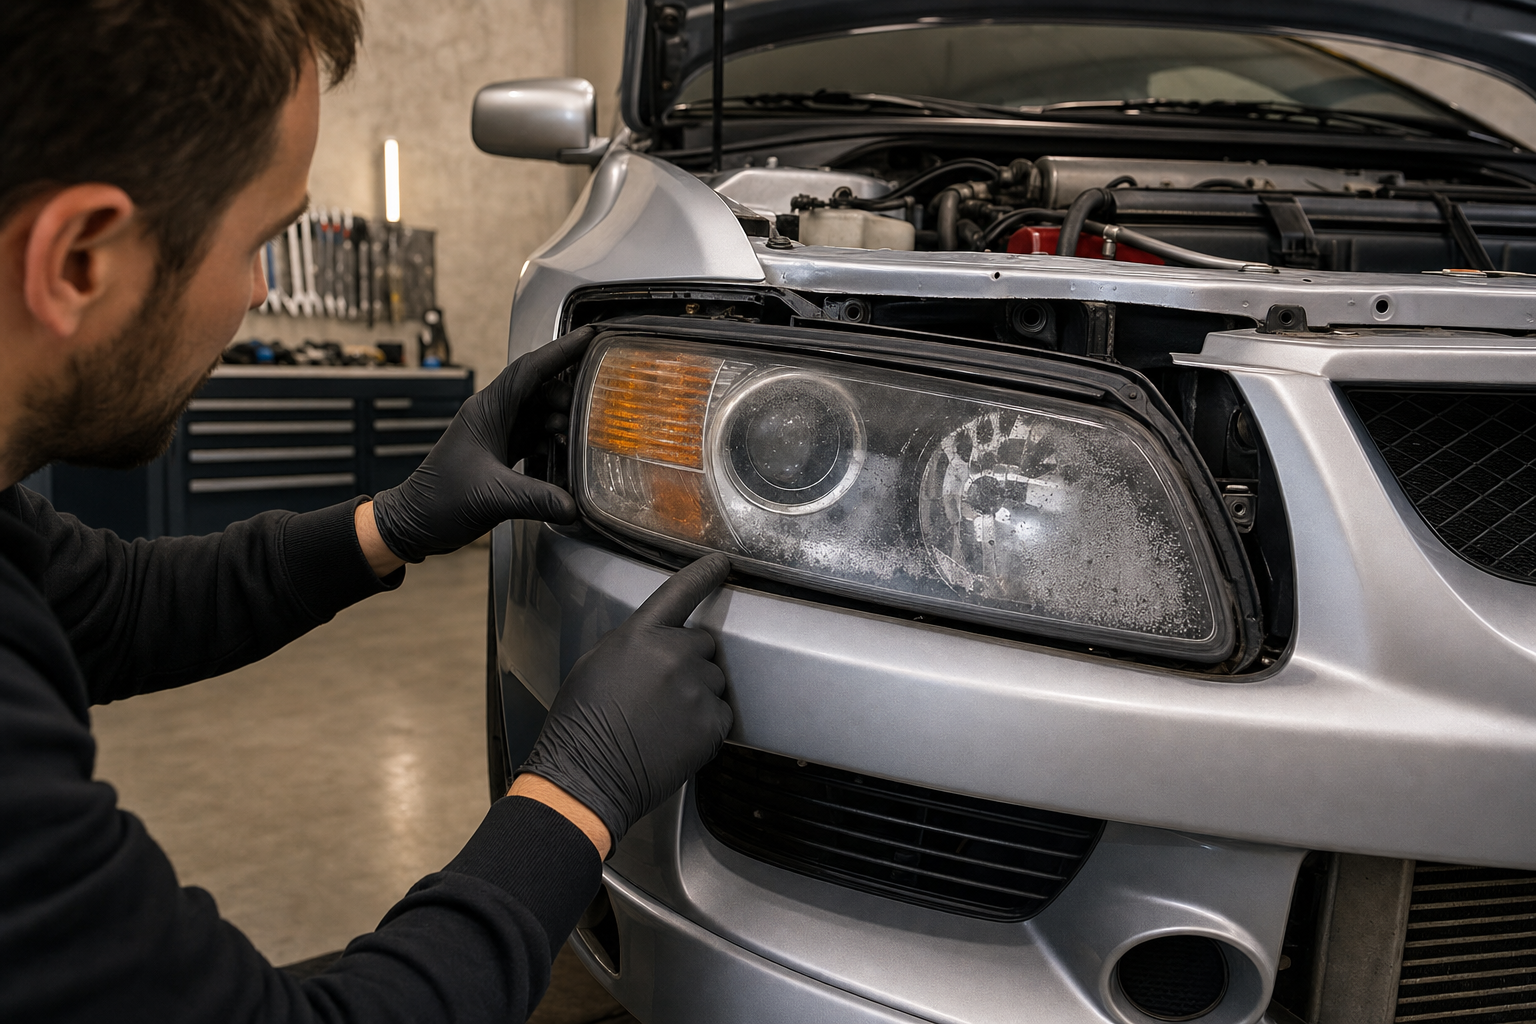
Evo headlight condensation can range from a thin temporary haze after a temperature change to droplets that pool inside the housing. The difference matters. A light film that clears after the lamp vents may be normal; water trails, repeated fogging on one side or standing moisture usually points to a sealing, venting or housing problem.
First decide whether the moisture is abnormal
Photograph the lamp before drying it, then compare both sides after the same wash, rain and drive cycle. Condensation that appears briefly across both lamps and clears through intact vents is less concerning than one lamp that remains wet for days. Look for dirt tracks at the lens seam, corrosion on the bulb socket, a displaced rear cap or a crack near a mounting tab.
- Confirm the car and headlamp assembly: Evo 7, Evo 8 or Evo 9; HID and non-HID service parts can differ.
- Inspect the lens-to-housing seam without prying it apart.
- Check rear access covers, bulb sockets, grommets and vent tubes for gaps or damage.
- Look for impact cracks around mounting ears and adjusters.
- Verify that previous sealant has not blocked a designed vent.
- Check connectors for green corrosion or overheated terminals before powering the lamp.
Know which OEM seal you need
The Mitsubishi headlight seals for Evo 7/8/9 are listed as genuine OEM factory replacement perimeter seals for 2001–2006 Mitsubishi Lancer Evolution VII, VIII and IX applications. The listing states that the left and right seals are different and sold individually.
For USDM orientation, LH is the driver side and RH is the passenger side. The listed references are 8301A063 for the LH seal and 8301A064 for the RH seal. Confirm the housing, market orientation and part number before ordering.
View the Evo 7/8/9 headlight sealsRemove the lamp without creating a new leak
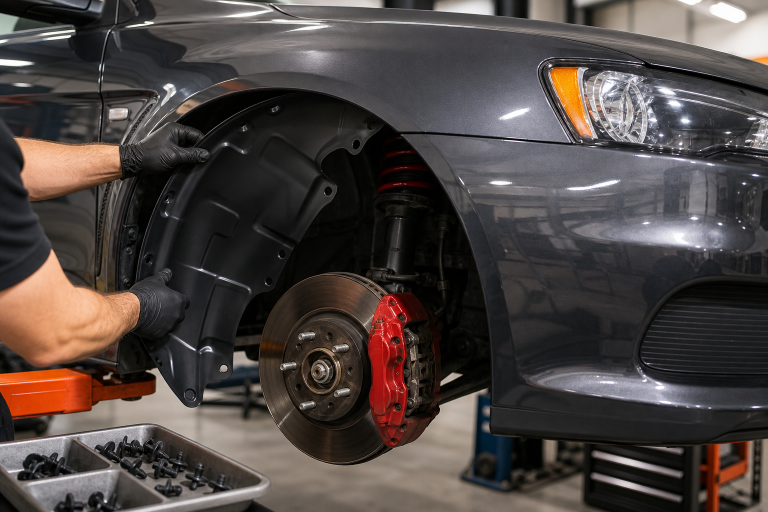
Work on a dry car with the battery isolated where required. Protect the bumper and fender edges with clean tape, remove fasteners in the service-manual sequence and support the lamp before disconnecting it. Do not hang the housing from its wiring. If a clip or bolt resists, find the hidden fastener instead of twisting the lamp and cracking a mounting ear.
Before cleaning, mark the original location of caps, vents and harness clips. Use lint-free materials around the lens. Do not touch HID or halogen bulb glass with bare skin, and do not blow dirty shop air into the reflector. If liquid water is present, remove it without leaving fibers or tools inside the housing.
Seal replacement sequence
| Stage | Action | Verification |
|---|---|---|
| 1. Diagnose | Identify the actual entry path and check vents, caps and cracks. | The perimeter seal is not being blamed for a separate fault. |
| 2. Remove | Take out the lamp using the factory service sequence. | No strained connector, broken tab or scratched lens. |
| 3. Clean | Remove old debris and contamination from the seal channel with approved materials. | Channel is dry, smooth and free of loose sealant. |
| 4. Fit | Install the correct LH or RH seal evenly without stretching or folding it. | Corners sit flat and the profile is not pinched. |
| 5. Reassemble | Refit caps, grommets, vents, connectors and mounting hardware. | Every cover seats fully and the housing is supported. |
| 6. Test | Verify low beam, high beam, turn signal and aim, then monitor after rain or washing. | No warning, flicker, trapped moisture or misaligned beam. |
Do not seal over the ventilation system
A headlamp must manage pressure and moisture as it heats and cools. Smearing silicone around every opening can trap humidity inside, soften incompatible plastics and make later repair difficult. Keep factory vents open and use only seal materials compatible with the housing and service procedure. “Baking” a headlight or using a heat gun can warp the lens, damage coatings or ignite materials; it is not a substitute for proper diagnosis.
What if the new seal does not fix it?
Moisture returns after rain
Recheck the rear cover, bulb socket, vent and hidden cracks around mounting tabs. A perimeter seal cannot repair a fractured housing.
The lens fogs after a car wash
A pressure washer can force water past aged covers or seams. Avoid directing high-pressure spray at the lamp while diagnosing, then test under controlled conditions.
The lamp flickers or a warning appears
Stop using the affected circuit until connectors, ballast and grounds are inspected. Moisture-related electrical faults can worsen quickly.
Beam aim changed after reinstallation
Confirm every mounting point is seated before adjusting the lamp. A cracked tab or lamp sitting on trapped trim cannot be corrected safely with the adjuster alone.
Frequently asked questions
Are Evo 7, 8 and 9 headlight seals the same side to side?
No. The featured OEM listing identifies different LH and RH seals, sold individually. Verify the market orientation and part number.
Can silica packets permanently solve condensation?
They may absorb some moisture temporarily, but they do not repair a leak, blocked vent or cracked housing and should never interfere with heat or wiring.
Should I replace the bulb while the lamp is out?
Only if the correct bulb is due, accessible and compatible. Avoid unnecessary opening of a dry, functioning bulb area.
For a broader factory-parts inspection plan, see our Evo 8 OEM restoration parts guide.
Diagnose first, then seal the correct side
Preserve the factory vents, match the LH or RH part and verify every lighting function before the car returns to the road.
Check live headlight-seal availability